
Using the example of an iOS mobile application, we will learn how to execute database queries to SQLite using the Swift programming language. The library of tools GRDB will help us.
The SQLite database which we will use
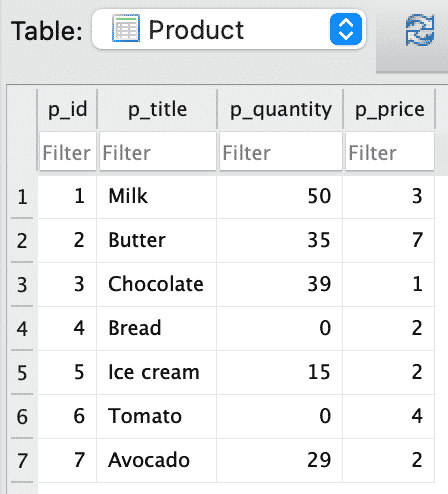
Let’s create a database that will contain information about products in a store.
CREATE TABLE "Product" (
    "p_id"	INTEGER NOT NULL,
    "p_title"	TEXT,
    "p_quantity"	INTEGER,
    "p_price"	INTEGER,
    PRIMARY KEY("p_id")
);
Each product has properties: title, quantity, and price.
The database was filled with test data. Usually, I use the program “DB Browser for SQLite” for editing SQLite databases.
Making the iOS application
We need a simple app that will display the results of SQL queries.
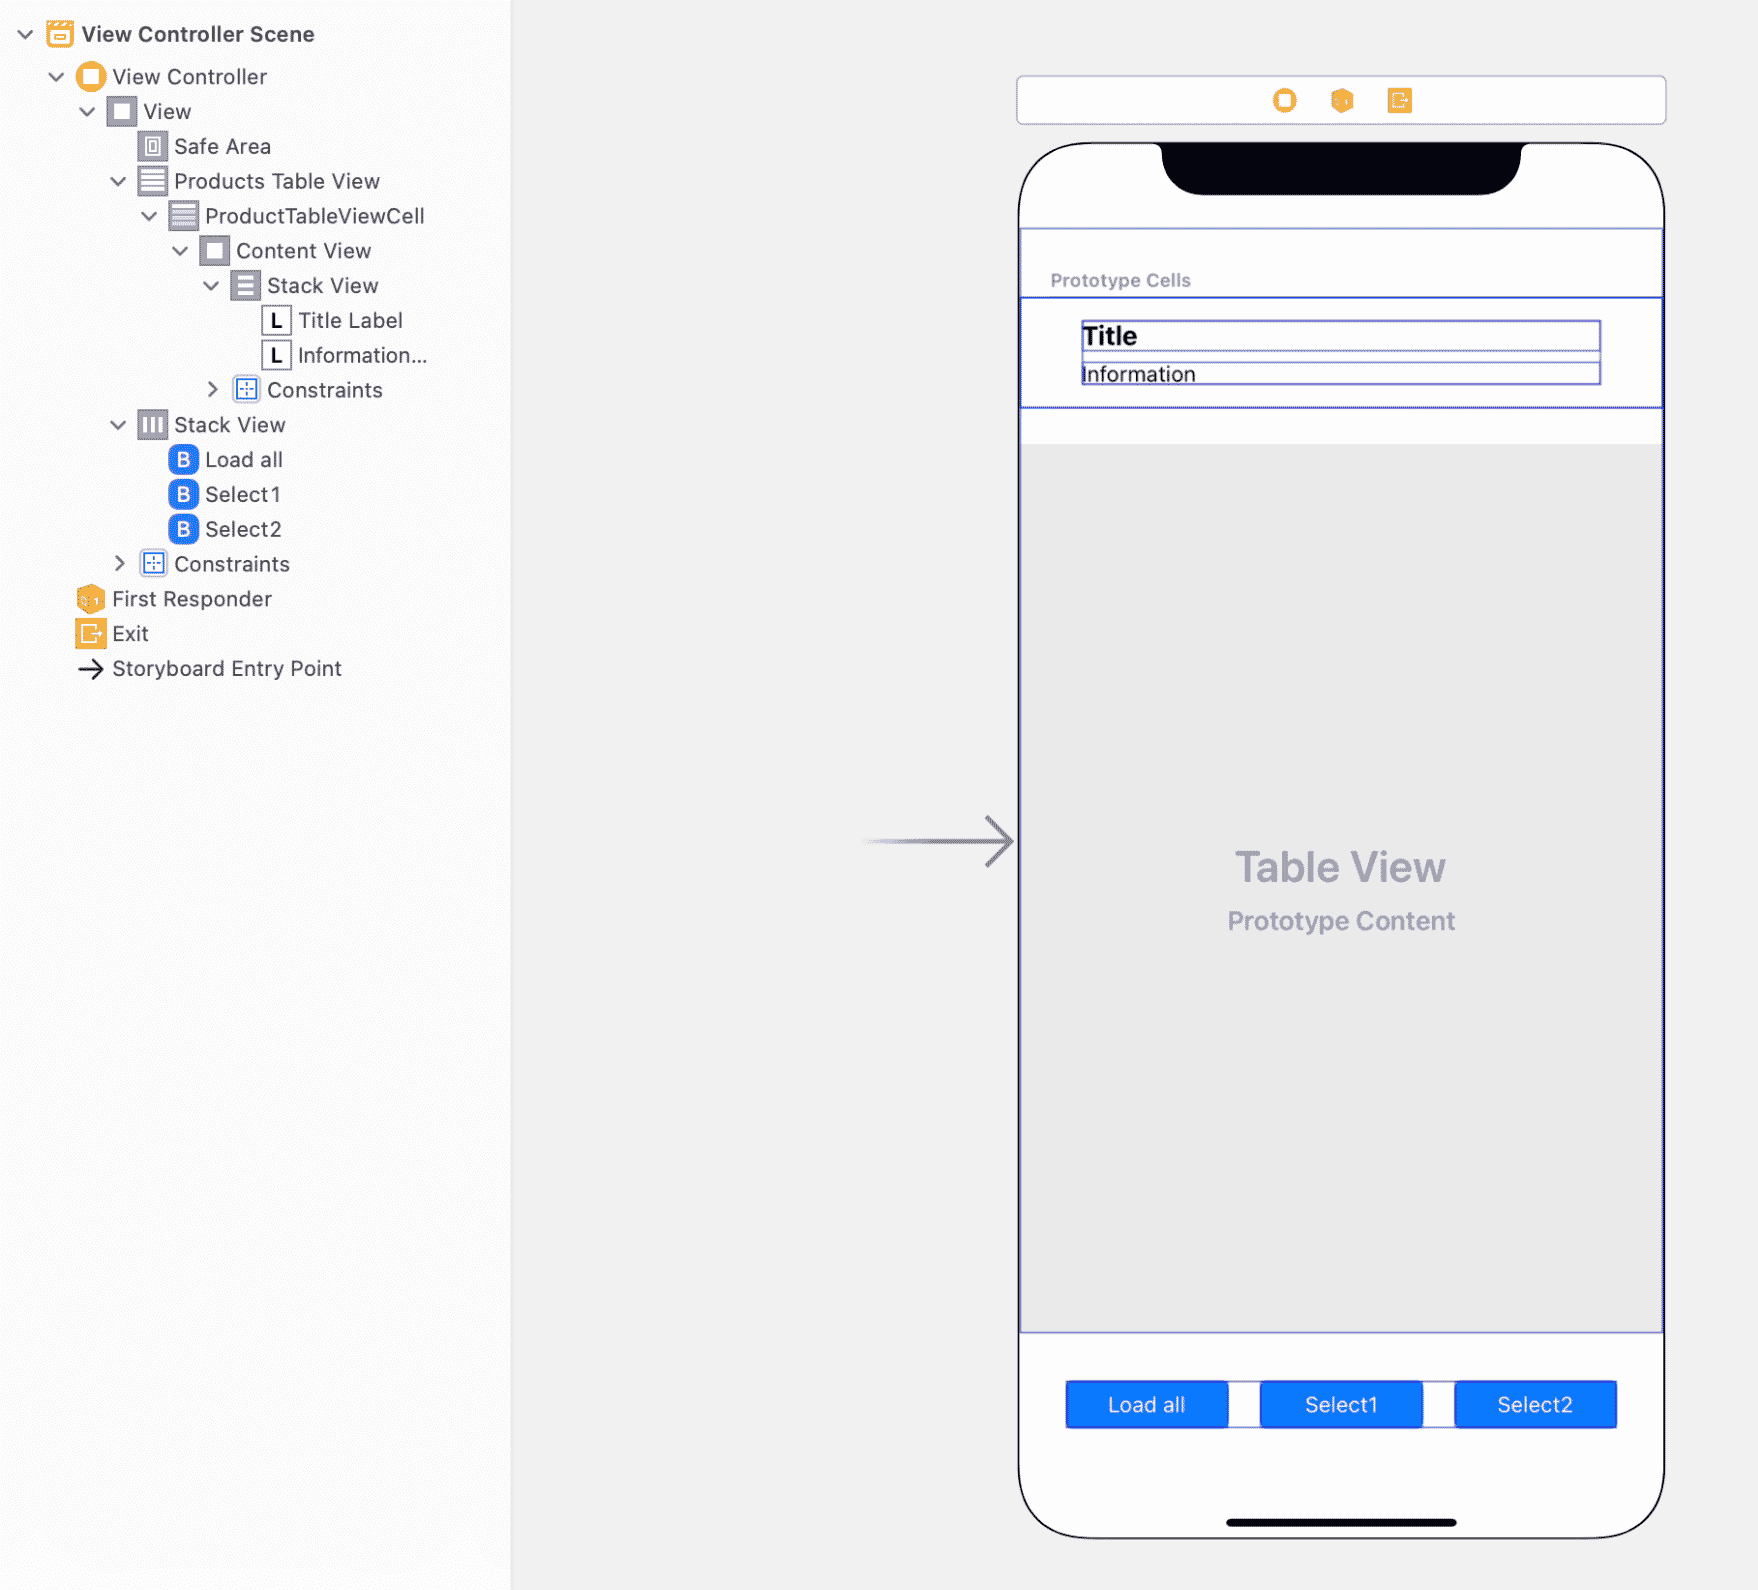
At the Storyboard, there is one ViewController with the TableView (every cell contains two Labels for outputting data about a product) and the StackView with three Buttons (at the bottom of the screen).
Code of class ProductTableViewCell which represents a cell of the TableView:
import UIKit

class ProductTableViewCell: UITableViewCell {

    @IBOutlet weak var titleLabel: UILabel!

    @IBOutlet weak var informationLabel: UILabel!

    override func awakeFromNib() {
        super.awakeFromNib()
    }

    override func setSelected(_ selected: Bool, animated: Bool) {
        super.setSelected(selected, animated: animated)
    }

}
Class Product which describes an entity from our database. Besides, the class contains a couple of methods: they return information about a product.
import UIKit

class Product {

    private let title: String
    private let quantity: Int
    private let price: Int

    init(title: String, quantity: Int, price: Int) {
        self.title = title
        self.quantity = quantity
        self.price = price
    }

    func getTitle() -> String {
        return title
    }

    func getInformationAboutProduct() -> String {
        return "Quantity: \(quantity), price: \(price)"
    }
}
And finally the code of the ViewController:
import UIKit

class ViewController: UIViewController, UITableViewDelegate, UITableViewDataSource {

    @IBOutlet weak var productsTableView: UITableView!

    private var products: [Product] = []

    override func viewDidLoad() {
        super.viewDidLoad()

        productsTableView.delegate = self
        productsTableView.dataSource = self
    }

    // MARK: - Table view data source

    func numberOfSections(in tableView: UITableView) -> Int {
        return 1
    }

    func tableView(_ tableView: UITableView, numberOfRowsInSection section: Int) -> Int {
        return products.count
    }

    func tableView(_ tableView: UITableView, cellForRowAt indexPath: IndexPath) -> UITableViewCell {

        let cellIdentifier = "ProductTableViewCell"

        guard let cell = tableView.dequeueReusableCell(withIdentifier: cellIdentifier, for: indexPath) as? ProductTableViewCell  else {
            fatalError("The dequeued cell is not an instance of ProductTableViewCell.")
        }

        let product = products[indexPath.row]

        cell.titleLabel.text = product.getTitle()
        cell.informationLabel.text = product.getInformationAboutProduct()

        return cell
    }


    @IBAction func loadAllButtonClick(_ sender: UIButton) {

    }

    @IBAction func select1ButtonClick(_ sender: UIButton) {

    }

    @IBAction func select2ButtonClick(_ sender: UIButton) {

    }

}
Setting the GRDB toolkit for DB Queries
If you haven’t got yet the CocoaPods on your Mac – install it (follow the instruction).
Then if you haven’t got the Podfile file in your current Xcode project:
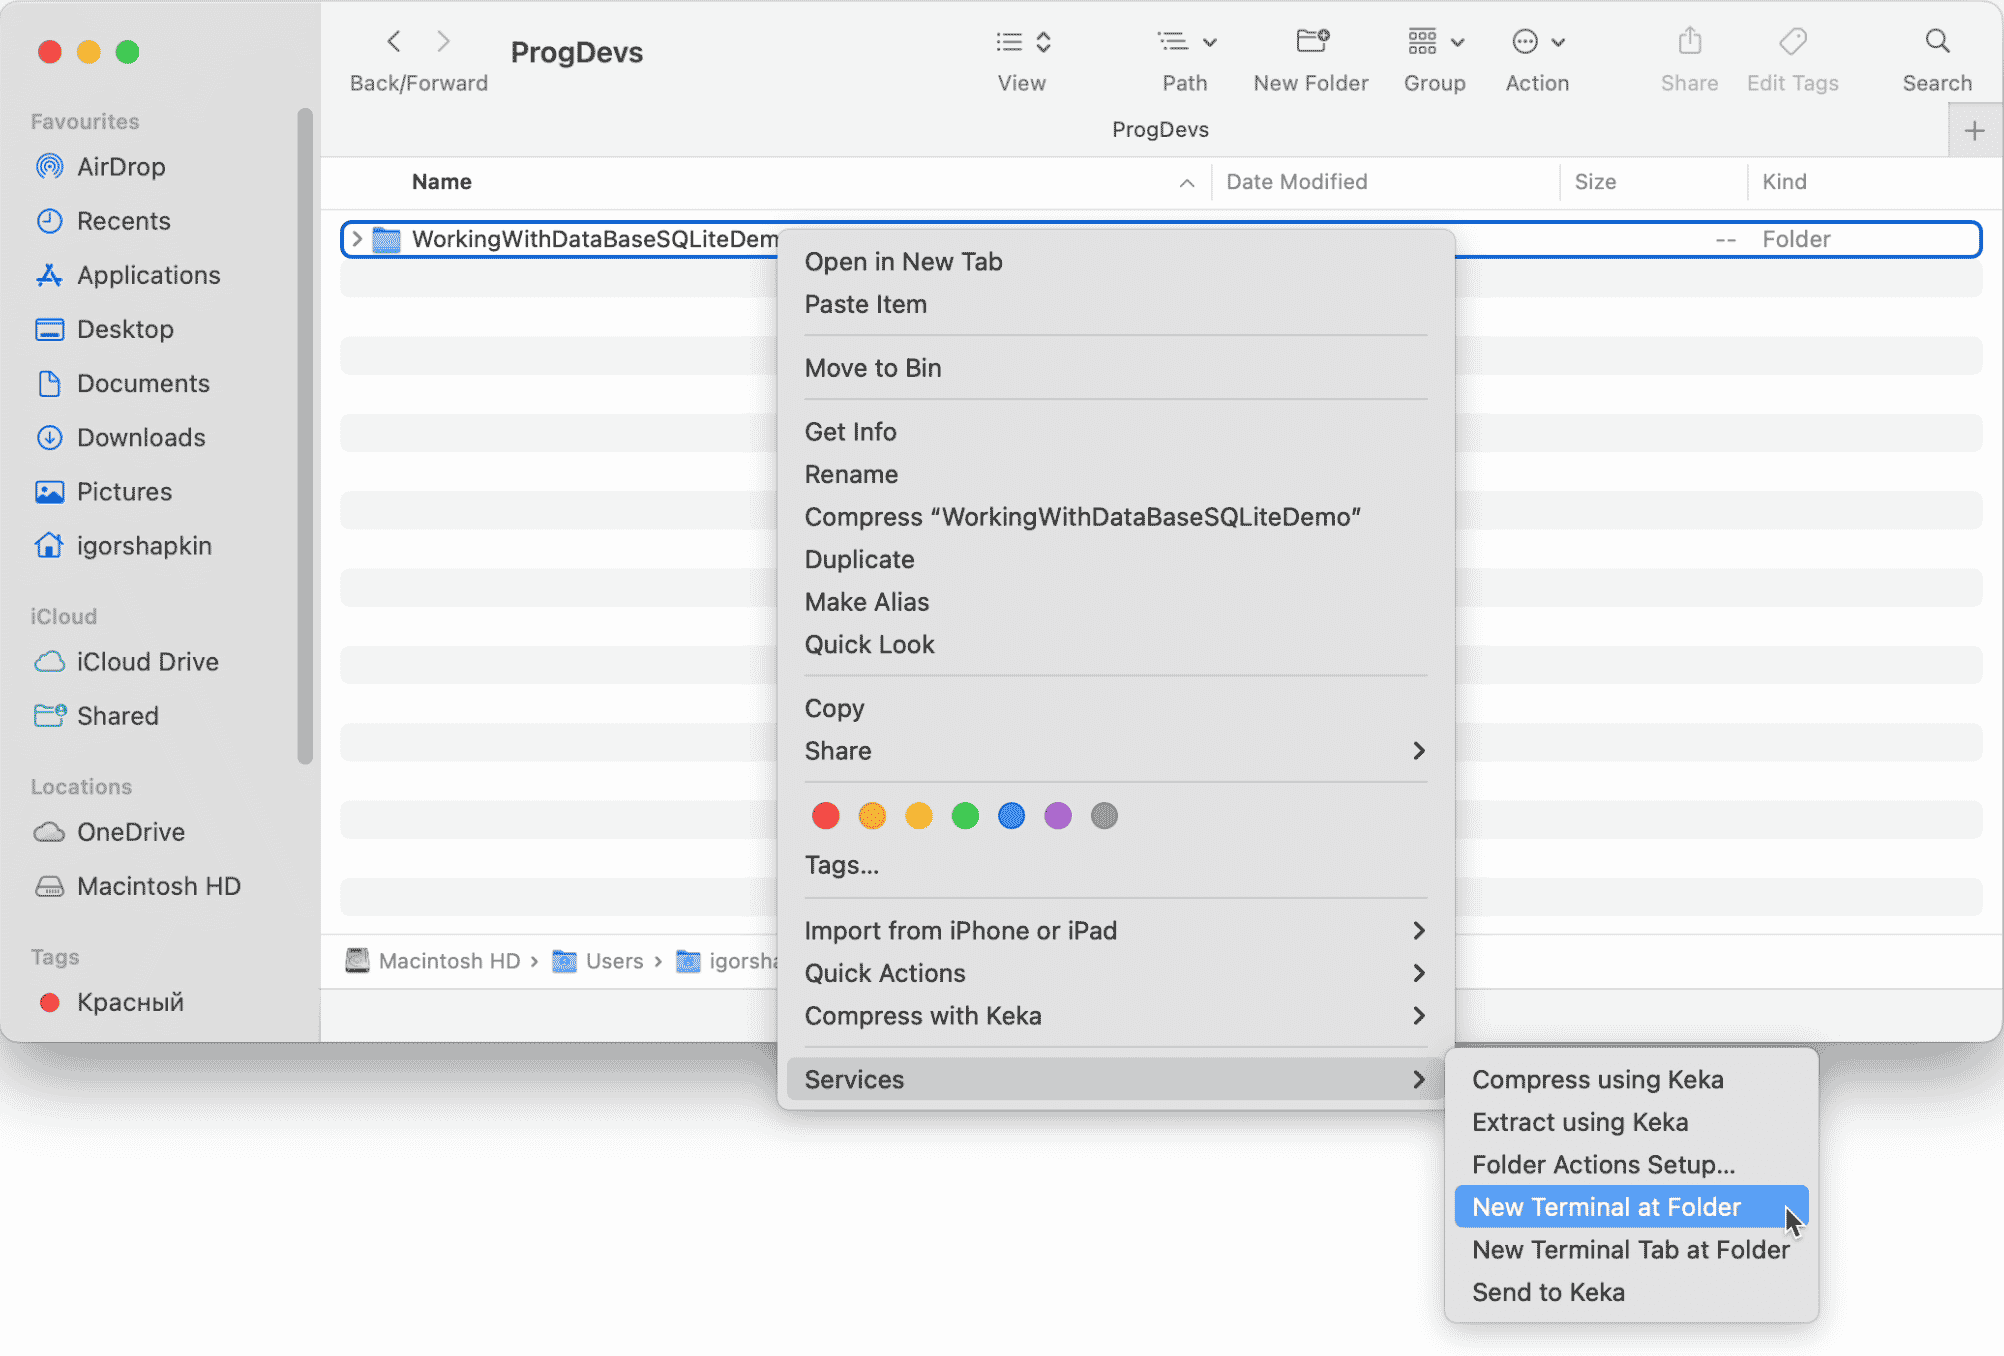
Via the Finder app go to the directory which contains the folder with your project. Do right click on the folder – “Services” – “New Terminal at Folder”.
Execute the command:
pod init
After that in the project’s folder, there will be the Podfile. Open it with a text editor application.
Add to the file the string: pod ‘GRDB.swift’. So the file will look something like that:
target 'WorkingWithDataBaseSQLiteDemo' do
  # Comment the next line if you don't want to use dynamic frameworks
  use_frameworks!

  pod 'GRDB.swift'

end
Save it. Open the Terminal app like it was described above. Execute the command:
pod install
So, the GRDB toolkit has been installed.
If you haven’t closed the Xcode – close it. In the catalog with your project open a file with the extension “.xcworkspace”.
Adding an SQLite database file to an Xcode project
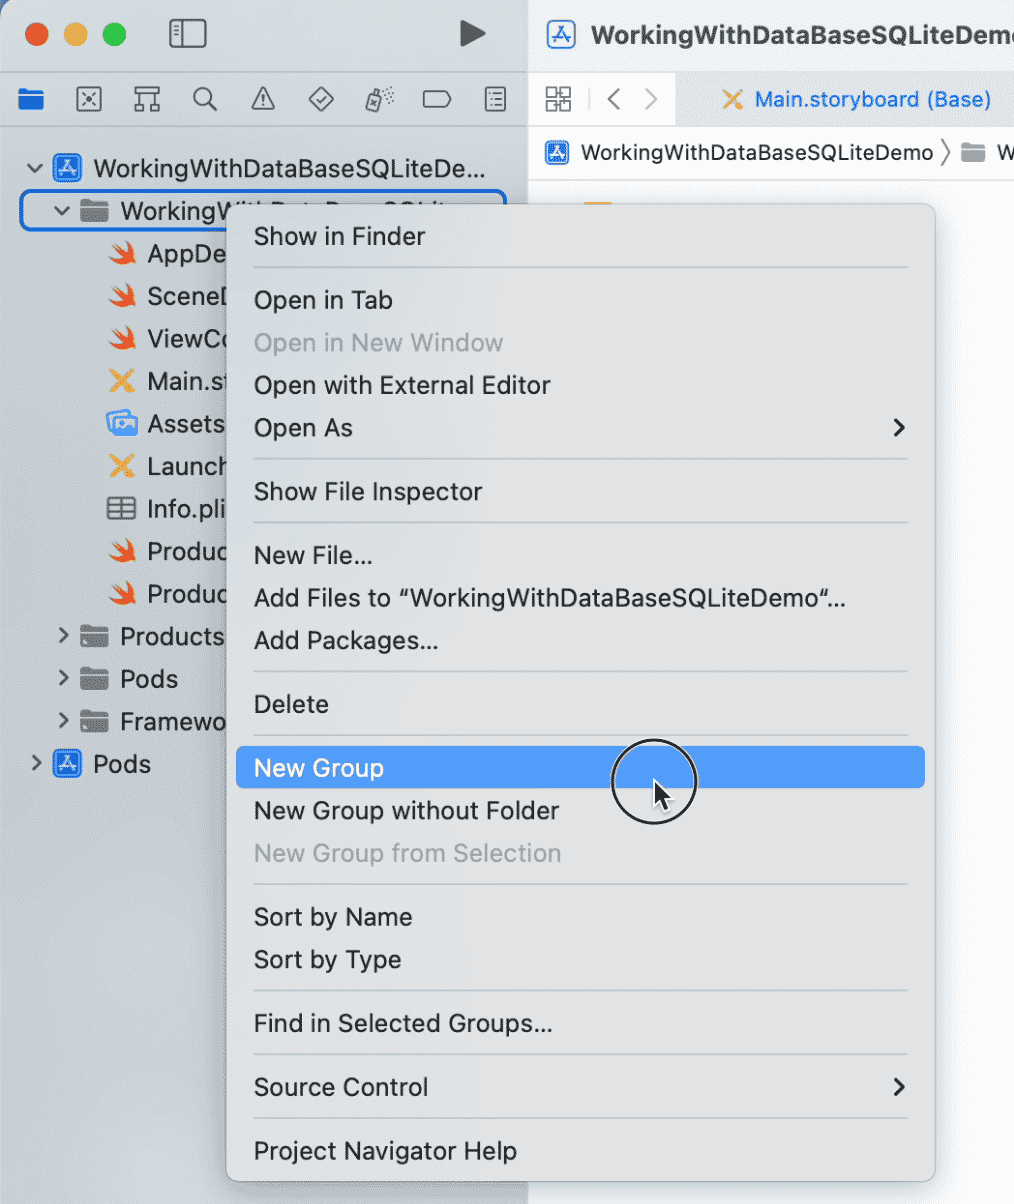
In Xcode create a folder with the title “res”.
Drag and drop from the Finder to the Xcode (to the folder “res”) of your database file. In the window that will appear, mandatory set the checkbox next to the item “Add to targets”.
Making Queries to SQLite in Swift
Let’s start coding. First, we need to import the GRDB library to a “.swift” file with a code. At the top of the file:
import GRDB
Add the new variable to the class:
private var dbQueue: DatabaseQueue?
Then we need to receive the instance of the class DatabaseQueue. It provides access to a database. Here is the according class method:
private func getDatabaseQueue() throws -> DatabaseQueue {
    // on a real device you can't write data into a source DB file (you can only read it)
    // so we need to copy the source DB file intthe o "Application Support Directory"

    let fileManager = FileManager.default

    // getting a path to the the DB in "Application Support Directory"
    let dbPath = try fileManager.url(for: .applicationSupportDirectory, in: .userDomainMask, appropriateFor: nil, create: true).appendingPathComponent("shop.db").path

    // if the DB file doesn't exist at dbPath
    if !fileManager.fileExists(atPath: dbPath) {
        // getting a path to the source DB file
        let dbResourcePath = Bundle.main.path(forResource: "shop", ofType: "db")!
        // copying the DB file into dbPath
        try fileManager.copyItem(atPath: dbResourcePath, toPath: dbPath)
    }

    return try DatabaseQueue(path: dbPath)
}
In the method viewDidLoad() of ViewController class we get a DatabaseQueue instance.
dbQueue = try? getDatabaseQueue()
SELECT Queries
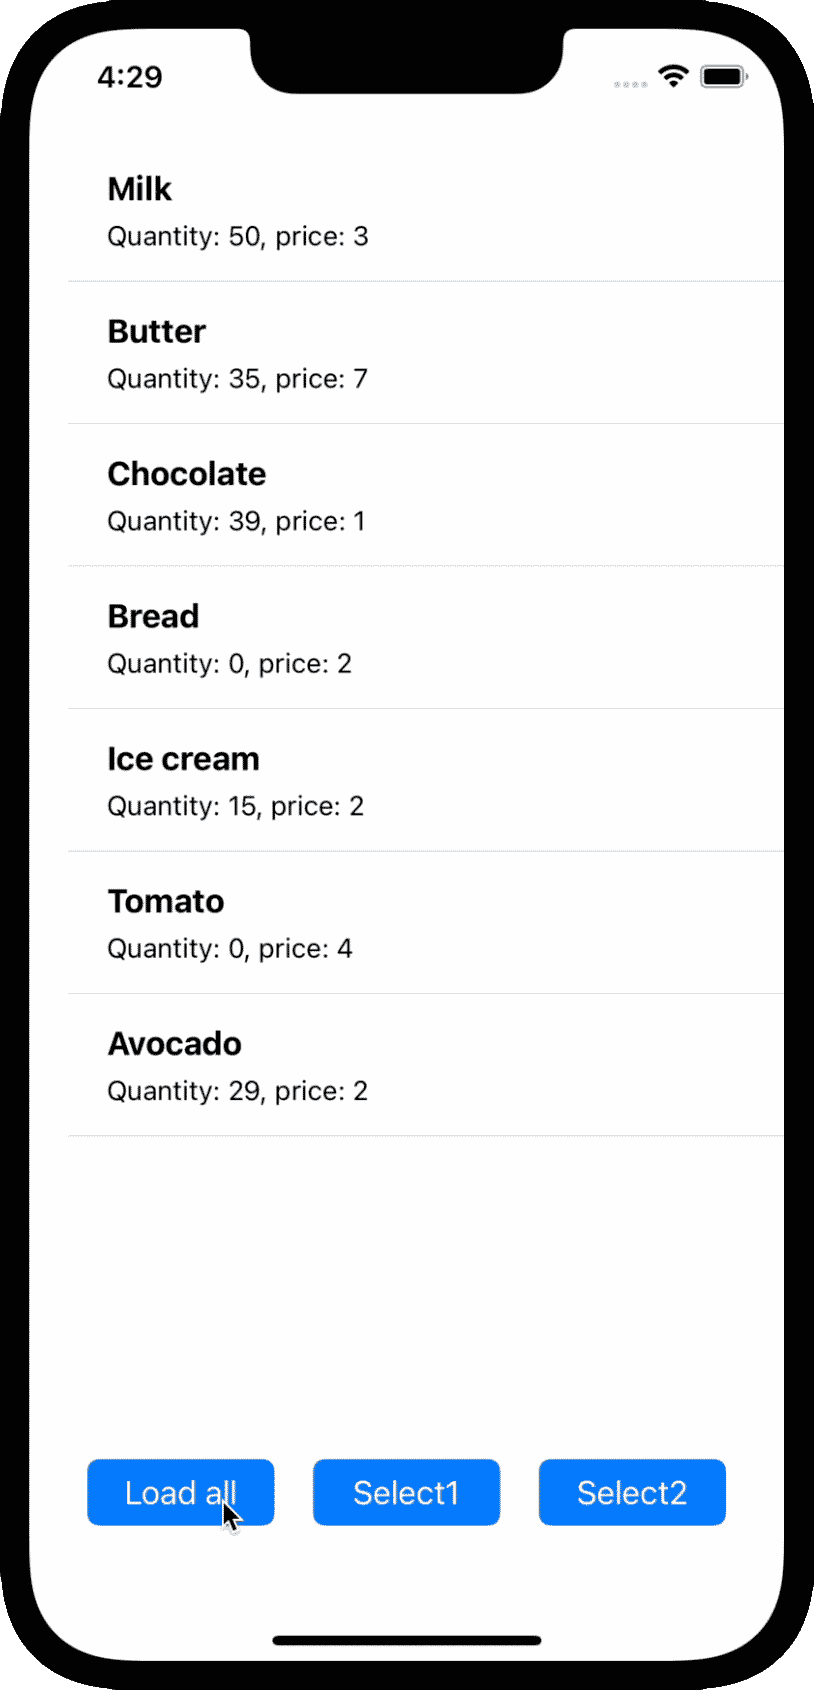
Our first query will be SELECT. We will get and will display all data from our database. Here is the code of the new method:
private func loadAllData() {
    products = []

    try? dbQueue?.read { db in
        let rows = try Row.fetchAll(db, sql: "SELECT p_title, p_quantity, p_price FROM Product ORDER BY p_id")

        for row in rows {
            products.append(Product(title: row[0], quantity: row[1], price: row[2]))
        }
    }

    productsTableView.reloadData()
}
We will call this method at the “Load all” button click.
@IBAction func loadAllButtonClick(_ sender: UIButton) {
    loadAllData()
}
Let’s run the application on an iPhone simulator and look to the result.
Another SELECT query in our demo will get only one row from the database (the row with id equals 3). The code of the method:
private func select1Query() {
    products = []

    try? dbQueue?.read { db in
        let row = try Row.fetchOne(db, sql: "SELECT p_title, p_quantity, p_price FROM Product WHERE p_id = 3")!

        products.append(Product(title: row[0], quantity: row[1], price: row[2]))
    }

    productsTableView.reloadData()
}
And the “Select1” button click handler:
@IBAction func select1ButtonClick(_ sender: UIButton) {
    select1Query()
}
Query result on the device:

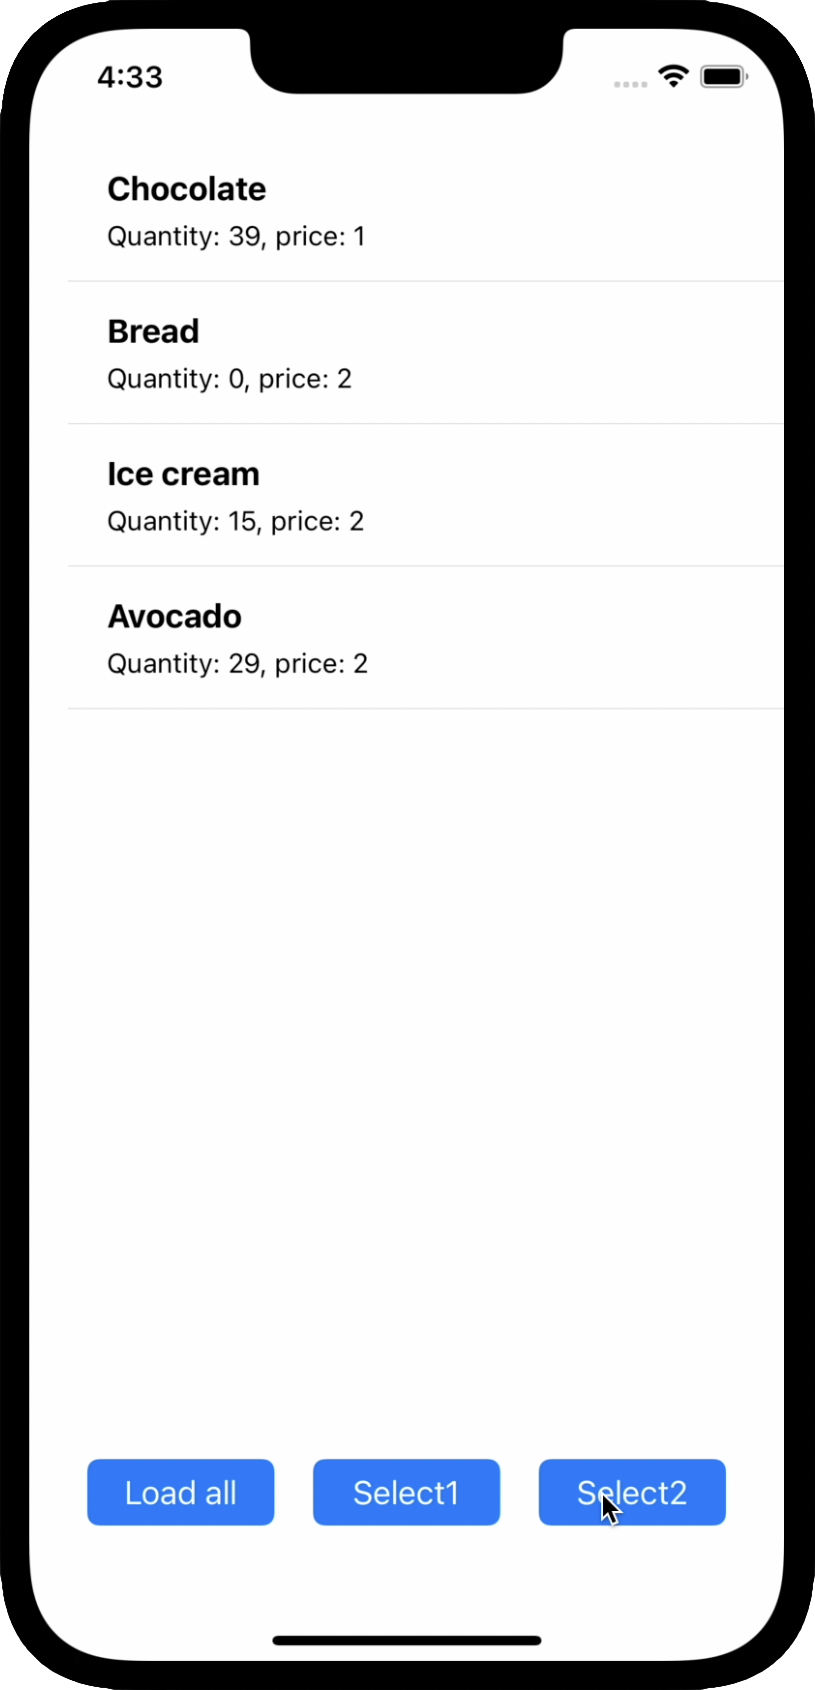
The last SELECT query will receive several rows from the database with WHERE condition with price “less than 3”.
private func select2Query() {
    products = []

    try? dbQueue?.read { db in
        let rows = try Row.fetchAll(db, sql: "SELECT p_title, p_quantity, p_price FROM Product WHERE p_price < 3")

        for row in rows {
            products.append(Product(title: row[0], quantity: row[1], price: row[2]))
        }
    }

    productsTableView.reloadData()
}
Method calling from “Select2” button click handler:
@IBAction func select2ButtonClick(_ sender: UIButton) {
    select2Query()
}
And the result of this operation:
INSERT Query
If you want to insert a new row into a database table, then use the following code. Here we add a new product.
try? dbQueue?.write { db in
    try db.execute(sql: "INSERT INTO Product (p_title, p_quantity, p_price) VALUES (?, ?, ?)", arguments: ["Olive oil", 17, 12])
}
UPDATE Query
Let’s update some data. For example we will set the quantity equals zero to all products which have the title “Olive oil”. For that updating the existing rows use this:
try? dbQueue?.write { db in
    try db.execute(sql: "UPDATE Product SET p_quantity = ? WHERE p_title = ?", arguments: [0, "Olive oil"])
}
DELETE Query
The delete query is shown below. Here we remove all rows which represent products with the title “Olive oil”.
try? dbQueue?.write { db in
    try db.execute(sql: "DELETE FROM Product WHERE p_title = ?", arguments: ["Olive oil"])
}
Video lesson
You can watch the video version of this lesson on YouTube with more detailed comments.
1 comment
How to solve an error “cycle dependencies between targets”